 Ok... so I have talked about cleaning BEHIND and UNDER the refrigerator before, but beyond throwing away anything green or growing, I have not addressed cleaning INSIDE it. Of course, as a neat freak, I am always cleaning up crumbs and spills with cleaning wipes. But, this time around, I decided to remove EVERYTHING... and get this darn ice box in order!
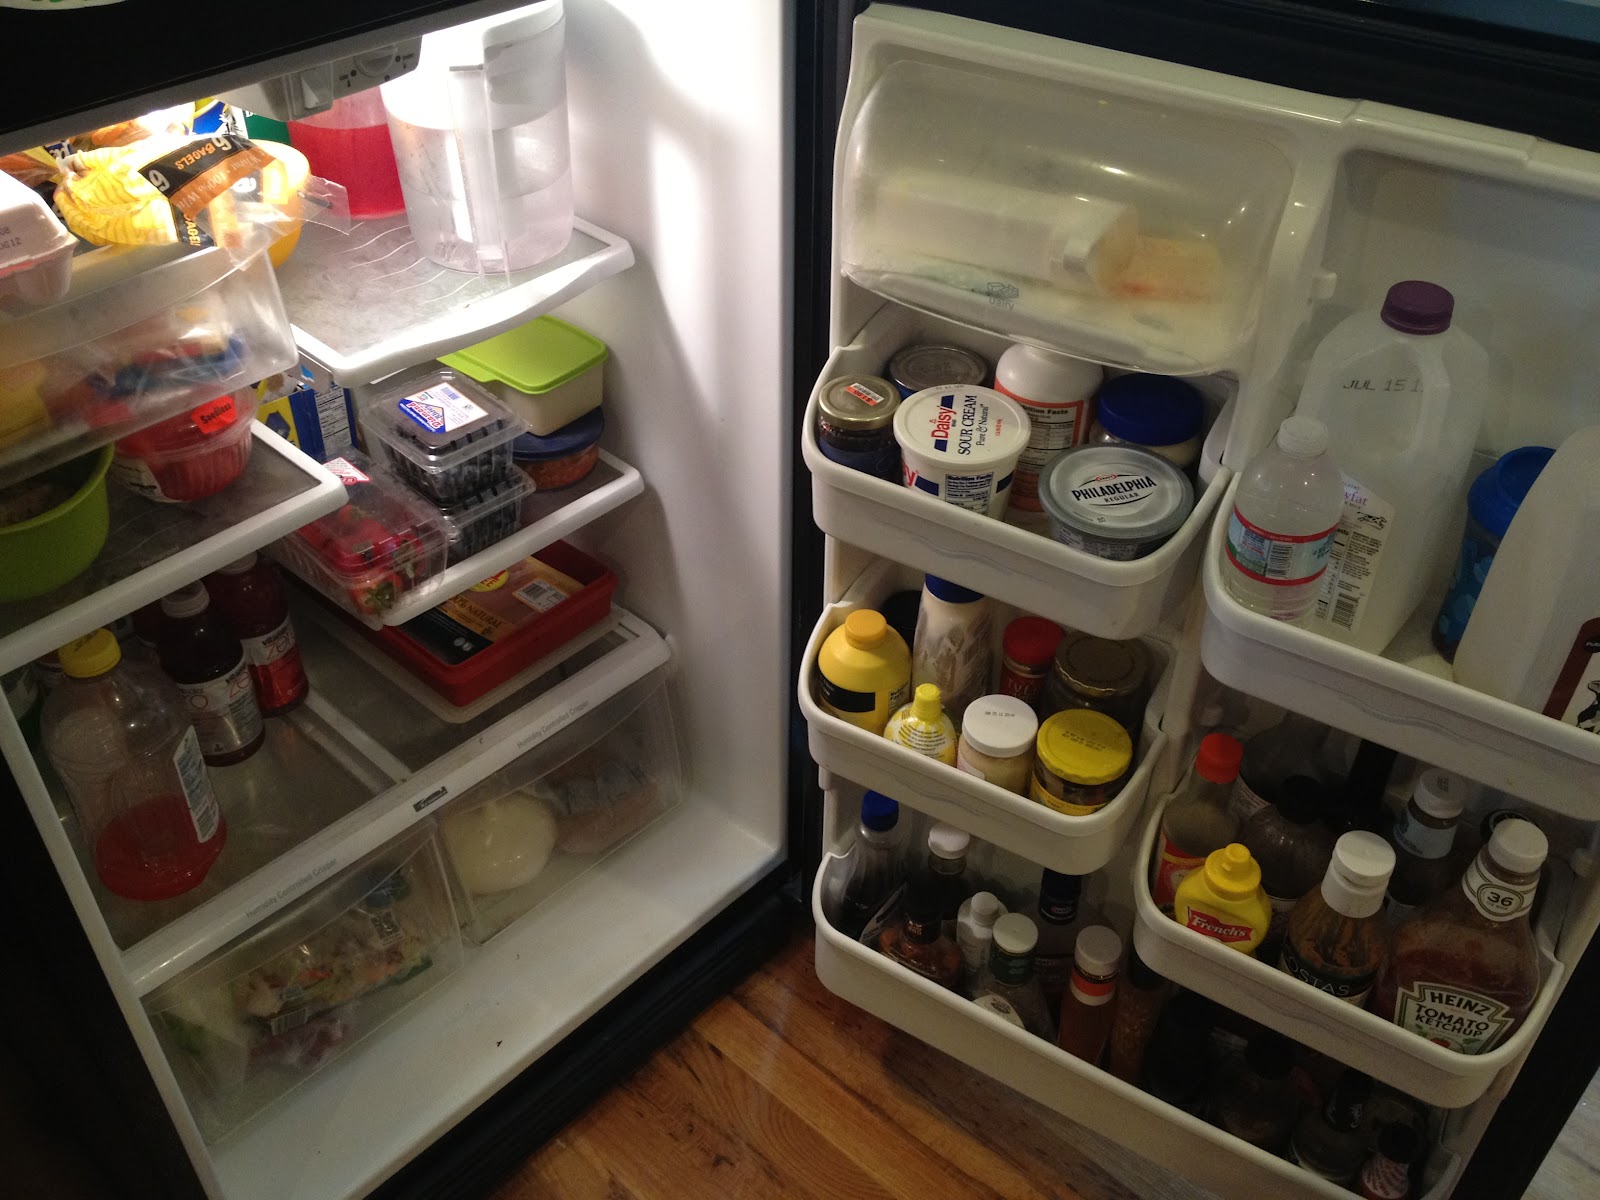
 You can see in this photo that the spills and stains weren't terrible... but they were still there! Gross! And these goops and blobs, of course, can cause your fridge to smell a little funky. (I'm just glad I decided to do this before grocery shopping! The fridge was already a bit packed, and there was food spread out all over my kitchen counters!) Once all the food items were out, I removed all the trays and drawers, washed them and wiped them down with cleaning wipes. Ah, fresh, lemony clean!
 OK.... I'll admit it. I sort of had ulterior motives with this whole fridge clean-out thing! About a month ago, I spotted yet another neat product that I knew I had to try: Fridge Coasters. What the heck is a fridge coaster, you may ask? Well, simply put, it's a decorative, absorbent cardboard-thick liner that goes in your refrigerator! There are super-cute patterns and colors (gray, blue, pink and yellow) and different sizes for different needs, but I knew I wanted gray and a mix of patterns. (Hey all these patterns are so IN right now!) I was extremely fortunate to receive a "fridge pack" from Fridge Coasters.... BUT, my hubby knew I had been talking about these handy things, and he gave me a "fridge pack" as a birthday present! YAY! TWO whole fridge packs were just enough for me to cover every space! All I did was line up the coaster with my shelves and drawers and figure out how to size them. I removed some perforated pieces, and I cut down some others. It's super easy. No real thinking involved! :)
 These photos show how incredibly cute -and neat - my super-clean refrigerator door turned out, with my gray fridge coasters dressing up a once all-white, dull bunch of bins, and how dapper and tidy the drawers and shelves look! I love it... almost enough to NOT return the food.... Hmmmmmm.

Since a refrigerator with no food makes no sense, I went ahead and reloaded my food items (sans a few expired or unneeded things), and now we can enjoy a clean, organized fridge that stores food... in style!
Now, THAT's neat!
NOTE: Fridge Coasters supplied me with one pack of "fridge coasters," but they did not pay me to say any of the above. Those are all my thoughts!